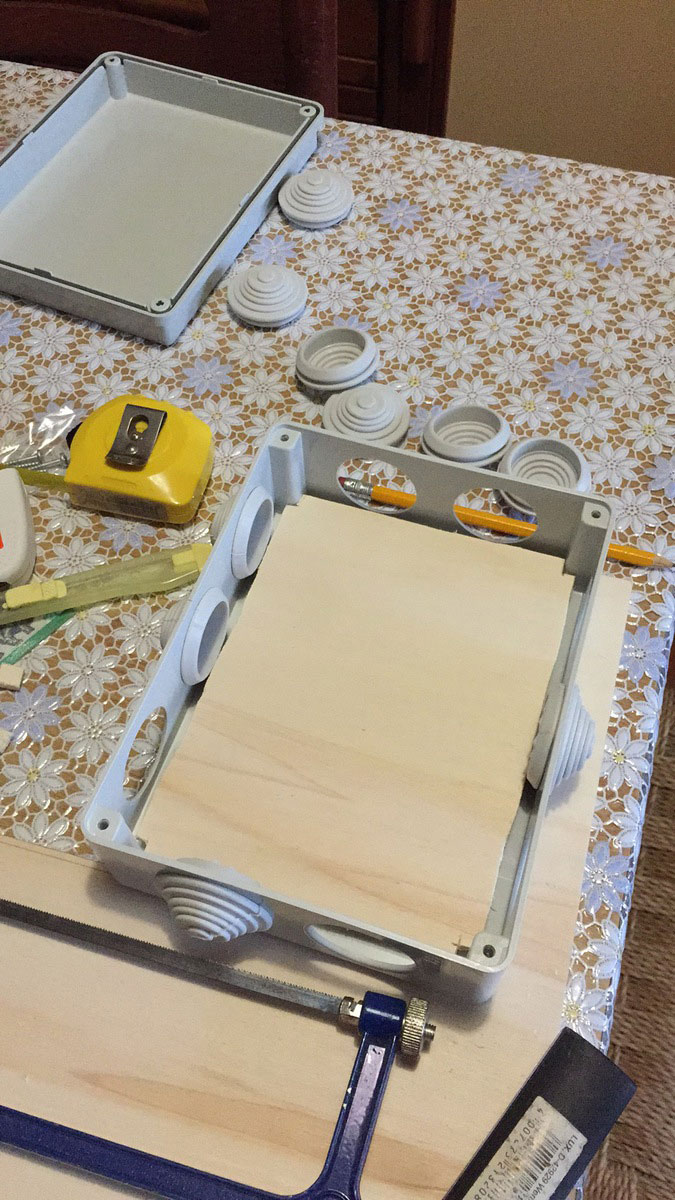
The main junction boxed equipped with a custom (badly) cut wooden base.
Want to see live images? Go to the homepage!
I had the idea of using a webcam with a Raspberry Pi a long time ago, but it wasn't until April 2015 that I started working on it. I replaced my old Raspberry Pi model B (256 MB) with a new Raspberry Pi 2 model B, and the old one became the heart of this project.
The reason I used a wired connection is very simple: in the event of Wi-Fi failure, I would find myself locked out of the Pi!
Equipment used:
The whole ordeal runs a Python script I developed that works around a minor issue with the webcam and scrapes weather information from the web, then joins everything together and uploads the resulting image every five minutes.
The main junction boxed equipped with a custom (badly) cut wooden base.
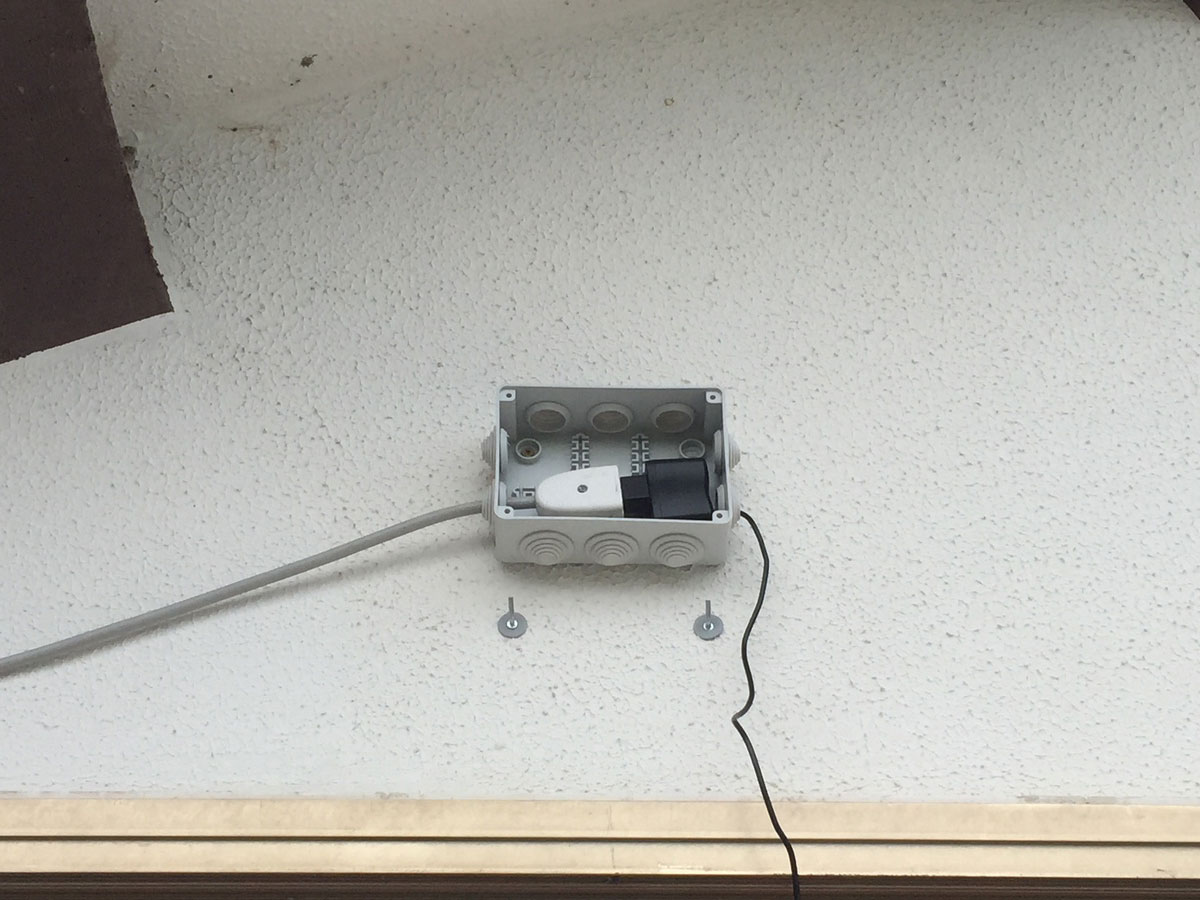
The secondary junction box, holding the electrical components.
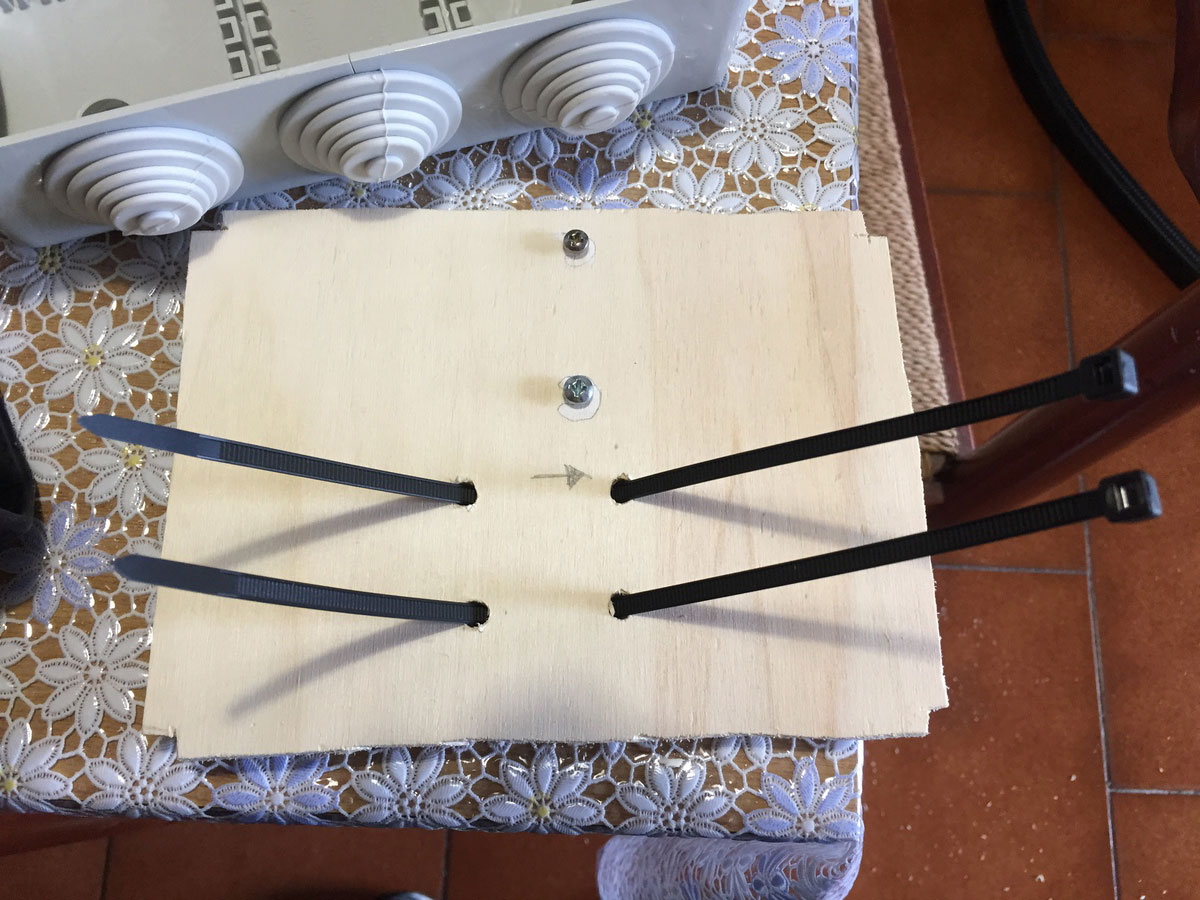
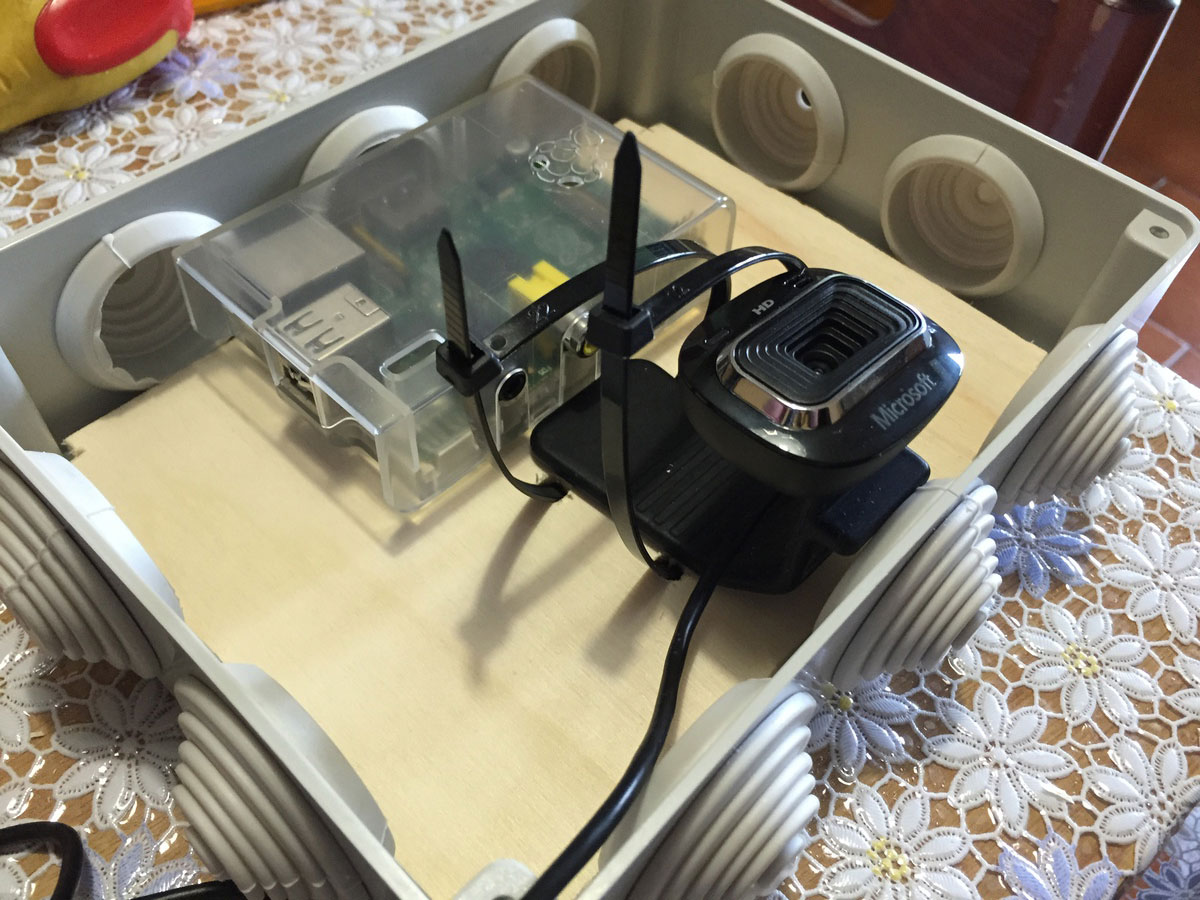
The wooden base was equipped with screws to latch the Raspberry Pi onto, and cable ties to hold the webcam.
The arrow is a reminder for the direction to unlatch The Raspberry Pi.
Cable ties before tightening.
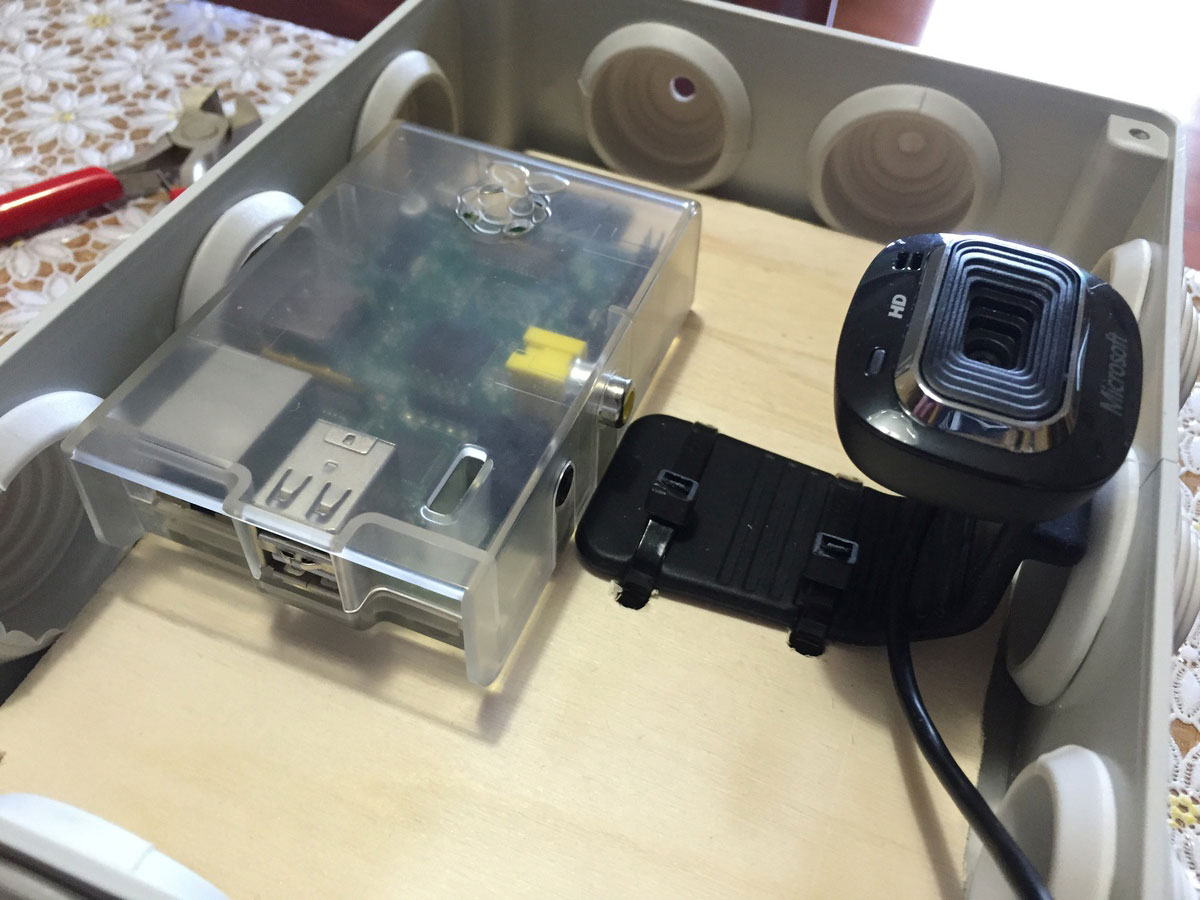
Tight and safe.
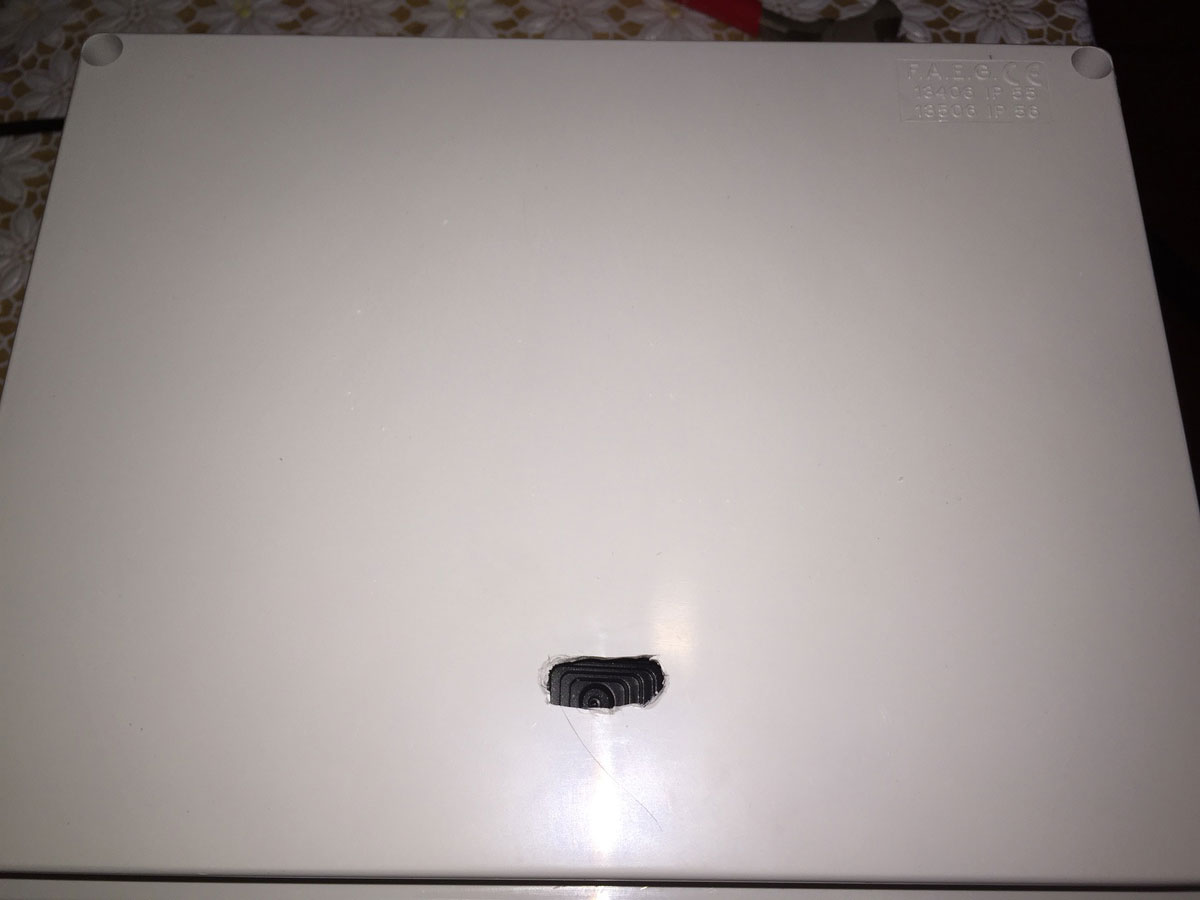
The first, rough hole. Turns out the webcam is too far from it, leading to thick vignetting.

Properly enlarged hole to prevent vignetting.
Not perfectly rectangular, but does the job and also allows for rotating the camera to the right to get a better view.
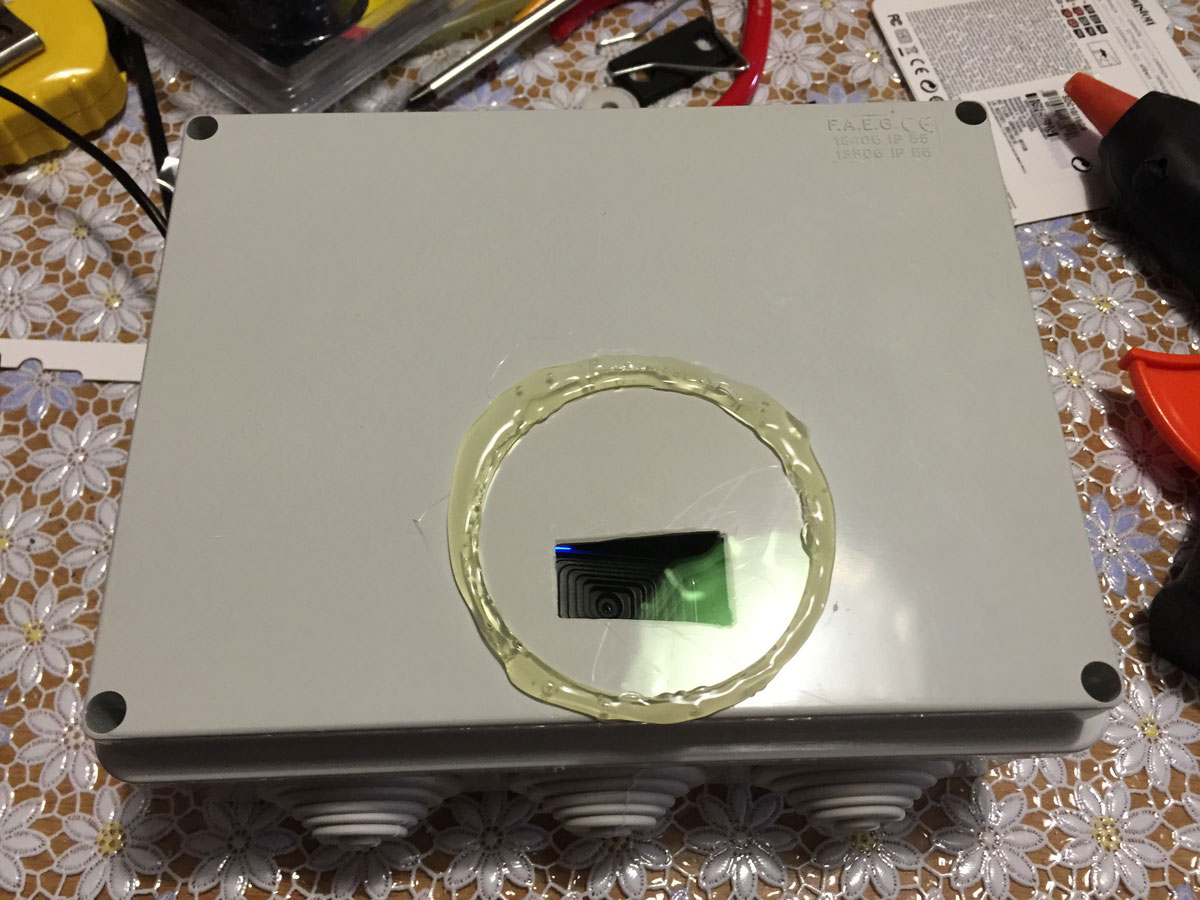
An old 67mm UV filter was removed from its ring and attached using hot glue.
This prevents rain from collecting inside the ring, and insects from entering the box.
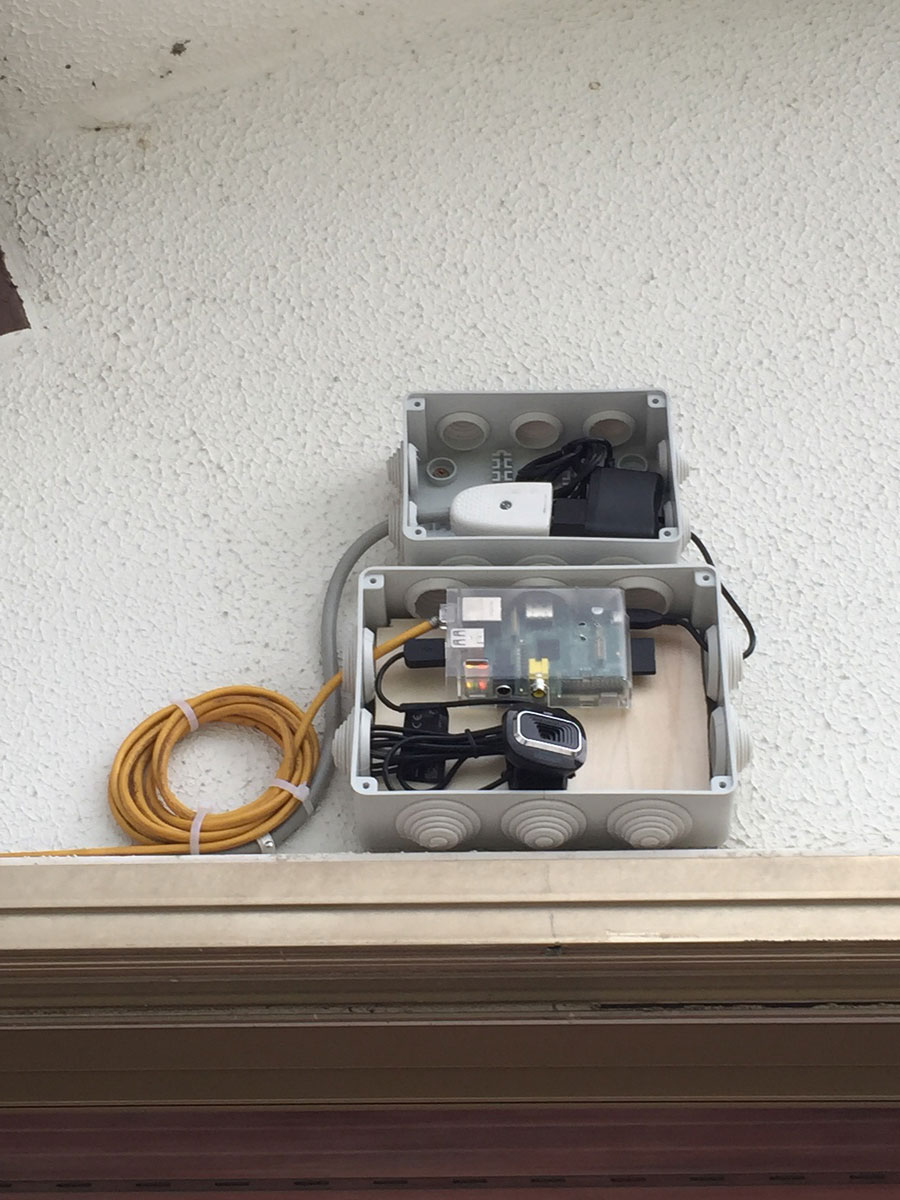
The PiWebcam in its final location.

How it looks.
Want to see live images? Go to the homepage!